The Goal:
Edit an image in Photoshop, to enhance, to improve it... and be able to easily "tweak" or undo/redo the "fixes" at a later date.
In Photoshop you are editing pixels, as a result you should always work on a "copy" of the image, not the original.1. In Photoshop after loading an image, use the File > Save As menu and save the files as a copy, or rename the file as... I usually just use a numbering system like imagename-001.psd.
This ensures you have an "original" RGB copy, even if you have the original raw image.
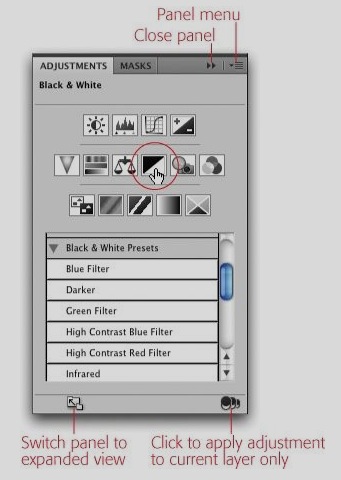
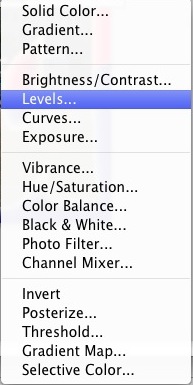
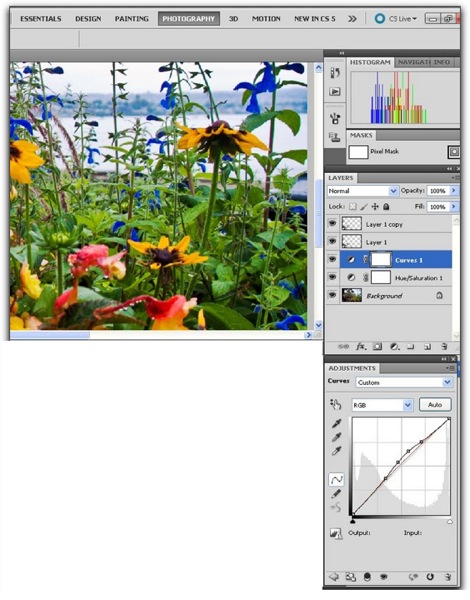
2. In your editing process you always want to use the Adjustment panel and the Adjustment layer tools.
list of adjustment layers… from the layers menu

An Example of using Adjustment layers...
3. Use Smart Objects for elements you are merging
in the photo, especially if you are using the Menu item: Edit > Transform > Scale (etc).
Transform Edits changes and "throws away pixels" especially if there is a scaling down in size… By transforming your layer contents to a smart object, the original data is available to re-size the new element without pixilation or having to start over again. In this example both Logos were scaled smaller, then resized upwards… The Logo on the right was converted to a smart Object.

4. Use smart Objects for applying Filters
 Using "Smart Filters" let's you
adjust the effects of the filter
later…
5. Create a Blank Layer
When using any of the tools like the Clone or Healing Tools to edit pixels, create a Blank Layer and use the Tool Bar to toggle on "Edit layers below"
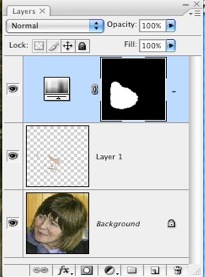
Here's a short tutorial that uses "Edit Layers Below"
6. If you can only edit pixels directly
make a Flattened copy of the visible layers .
This is useful if you want to use the Menu Image > Adjustments > Shadow/Highlight…
or another "Adjustment" that does not have an "Adjustment layer"
Mac (Command + Option + Shift + E)
PC (Control + Alt + Shift + E)
and apply the Adjustment to the flattened copy of the all the layers...
Enjoy! As Always 'holler if you have a question or comment
No comments:
Post a Comment