Monday, February 14, 2011

Week 4 Review -Softproofing prints...

This may be the real reason you got Photoshop... Your prints look awful... not the work of Art you know it is...
Just as a check before you start make sure you have been working with the right color space.  ProPhoto RGB.
And, verify that the image has been set to 16 bit (this actually makes a big difference!) You more than likely already made these presets in Camera Raw!
Menu Image > Mode > √ (Check) RGB and √ (Check) 16 bits/Channel
Before you begin load a duplicate of the image you want to soft proof. Use the Menu Bar item "arrange documents"

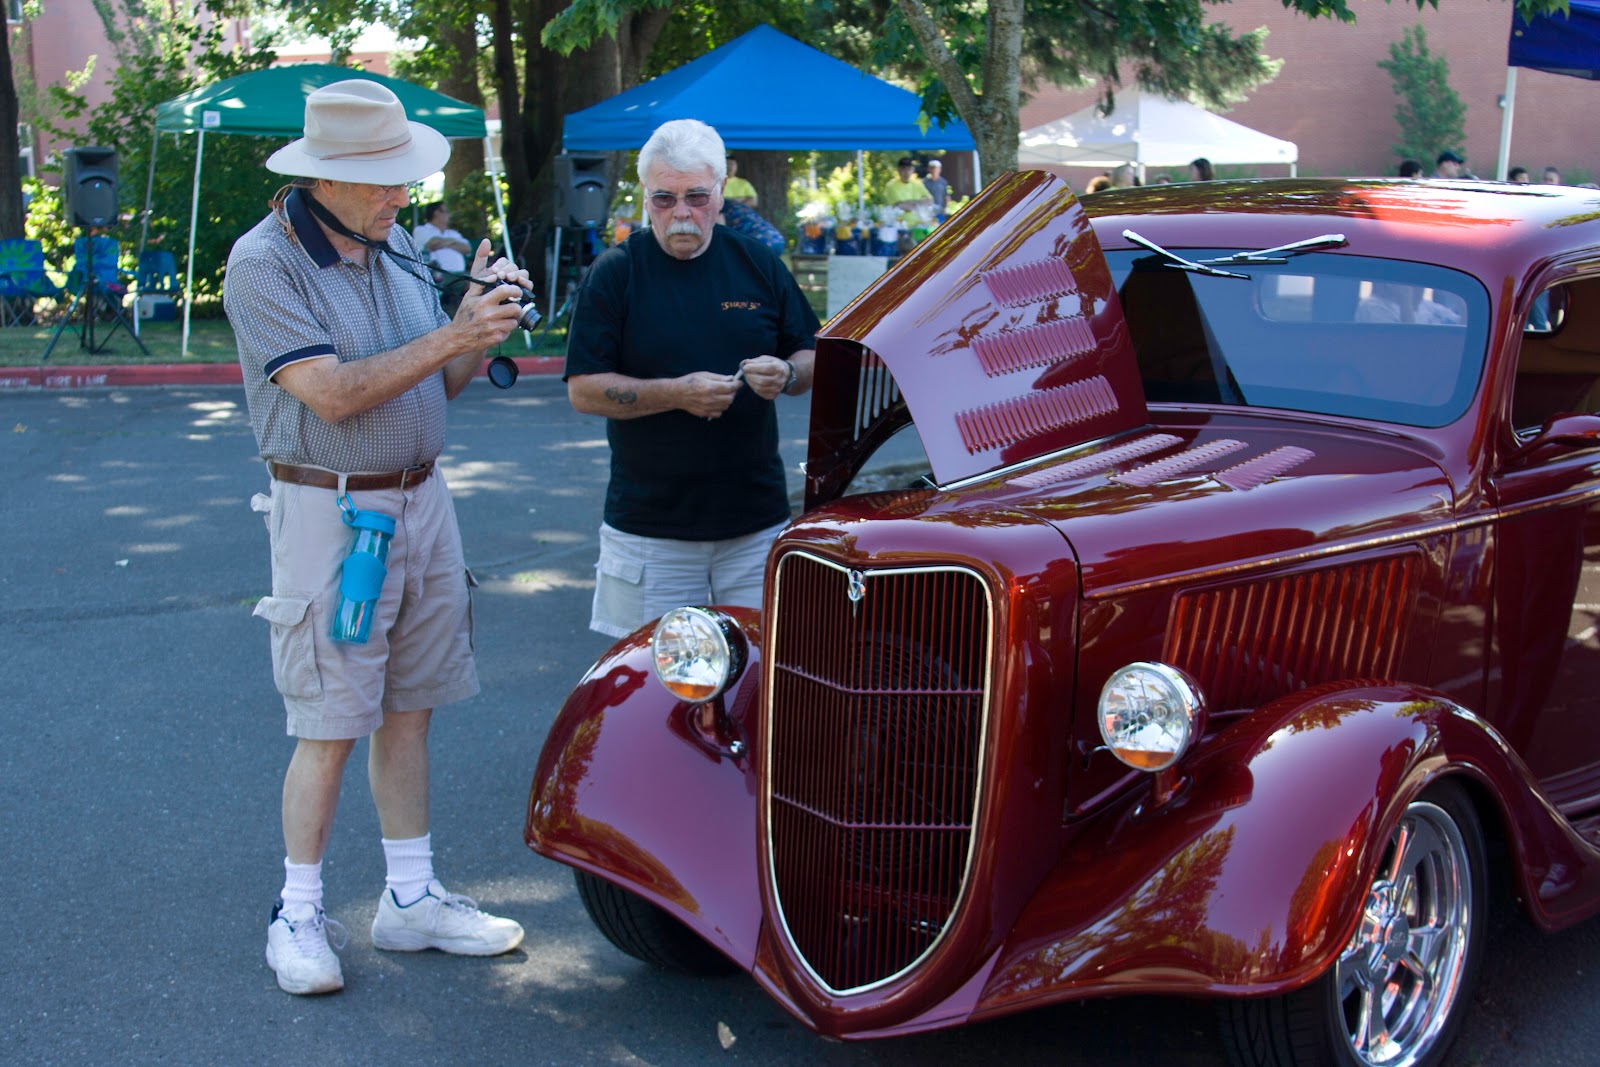
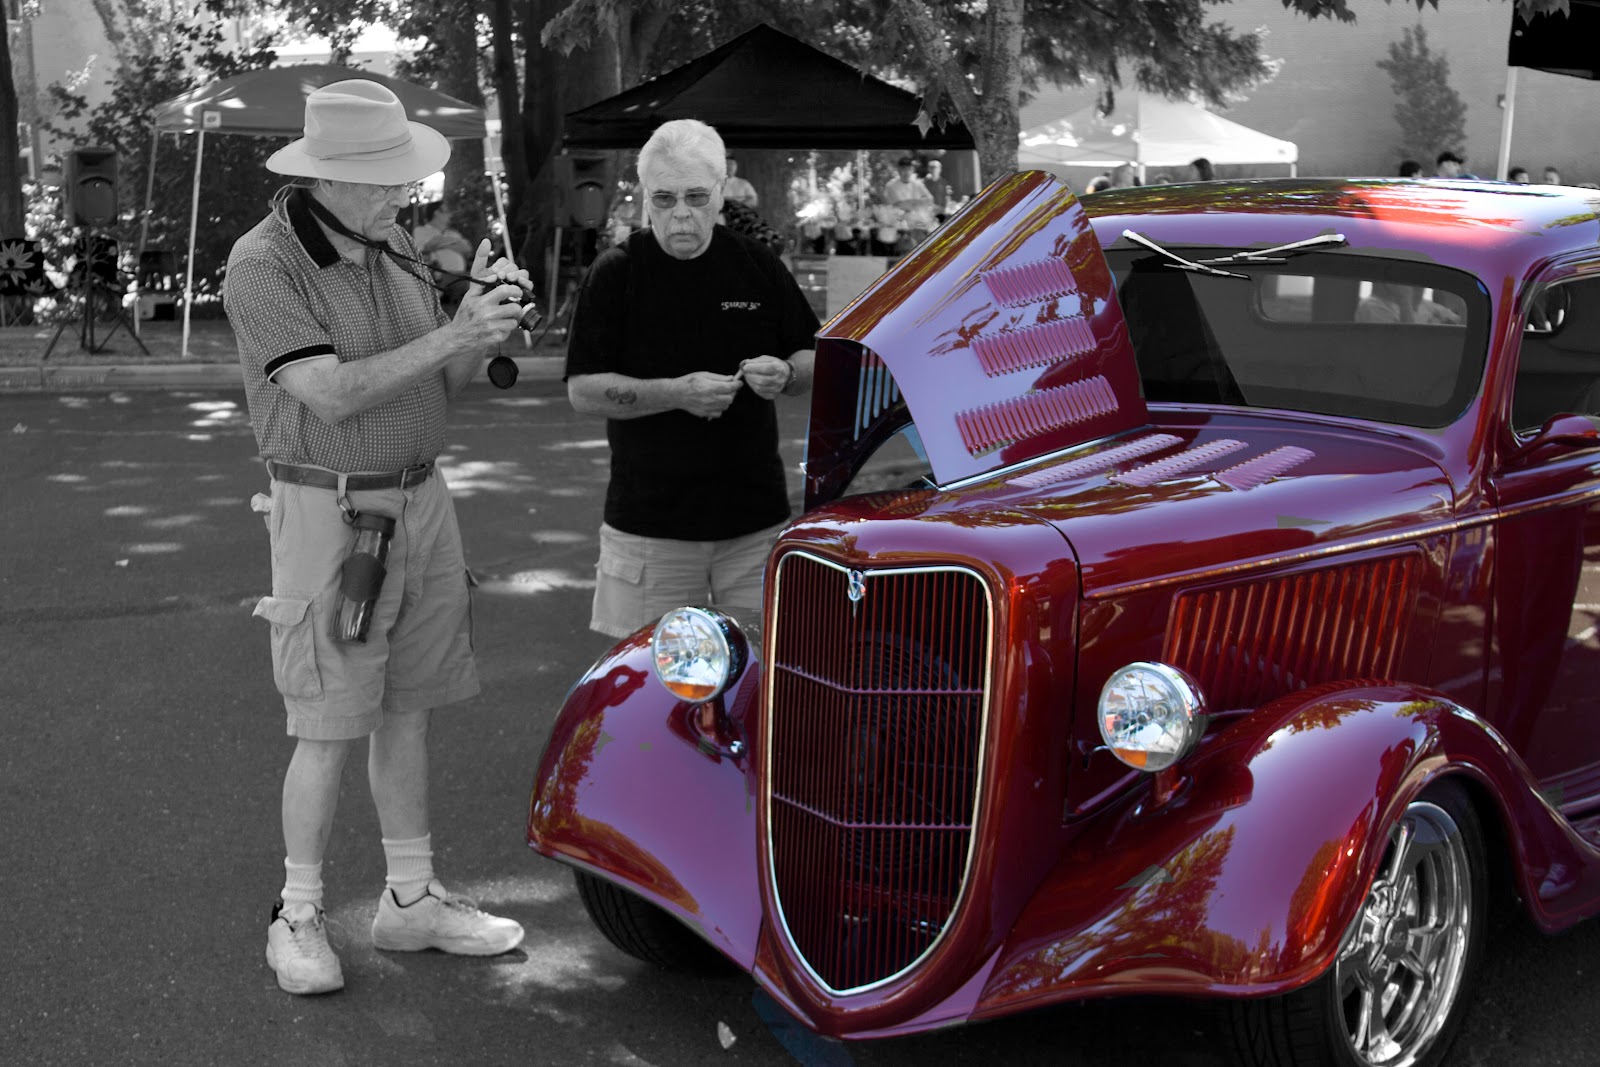
We will want to make our soft proof emulation (what the print will looks like on paper)  -- to the way it looks on your monitor!
in order to do so we'll have to make some "tweaks" to the softproof image.
Select the menu item
View > Proof Setup > Custom...
and make the following settings

1. If you have a color profile for the paper and your printer
(in my case this was supplied by Red River Paper, the manufacturer of the Polar Matte paper)
You may have made your own profile, or you are using the profile for the paper supplied by your Printer manufacturer.
For my Canon Printer, when I'm using Canon Paper, the profile is BJ Color Printer Profile 2000.
2. Rendering intent:  You have two choices here, the choice is yours based on aesthetics (how the result looks to you!
a. Relative Colormetric (based on tones from light to dark )
b. Perceptual: (Based on color to color changes)
3. Since the purpose here is to see what the print will look like Check Simulate Paper Color
4. Will show you what it'll look like... UGLY! Well maybe... Sometimes the changes are quite subtle...


Generally you'll want to ensure that black are printed as blacks, and you'll want to tweek the colors Dynamic range with the Curves palette and bump the saturation of the colors with the Hue/Saturation palette. 
1. Blacks
Use the menu 
Select > Color Range
Use the eye dropper to select the blacks and set fuzziness to around 25
Click OK
To place the color selection on a layer use the keyboard shortcut Control J (PC) / Command J (Mac) this will copy the black selection onto a blank layer. (see the layers Palette)


In the layers palette duplicate the black selection and change The Layers Blending Mode from "Normal" to  "Multiply"  This will darken the black range by multiplying the value of the pixels... you can duplicate this layer to make the effect stronger and you can use the opacity setting to back off the changes... 
Use the The Curves Palette to work with the dynamic range of the colors and Hue/Saturation palette to tweak the colors
The goal is to match the Softproof to the Monitor Version...


 The key word is " tweaks" so be gentle when you make your changes. Have fun! and Enjoy!!!

Oh, yes... save your softproofed image as (for example) EnglishBay-Canoni9100-polarMatte-Relative.psd
In other words include the Name of the photo, what printer, profile and rendering intent you used as a .psd so you can do more tweaks if you so desire.

Questions?

Sunday, February 13, 2011

Week 4 --Review Home page changed

Fixed links 

http://uofgts.com/PS-P2Site/index.html

more soon


Wednesday, February 9, 2011

Week 3 Review -- Spot Healing Tool and more

Howdy

It quite amazing what you can do with the new "Content Aware" capabilities in Photoshop CS5.

Here's a link to my notes on the Spot Healing Tool usage in CS5 and PSE  9 -- (The Content Aware button was added in PSE 9!)

If anything... Watch the Russel Brown Video via the link on the left of the Healing Brush Page

You will be amazed.
 

Tuesday, February 8, 2011

Week 3 Review -About Skin Tones

In digital photography most skin tone issues occur as the cameras is general add a red hue or tint to flesh tones...
And, if there is any issue with white balance, skin tones becomes an issue.

I found a really good tutorial that takes us beyond just correcting for a red hue/tint on Smug Mug's web site.

Getting Great Prints:  Pleasing Skin Tones

Here's a method for developing skin tone palettes Skin Tone Tutorial

and Adobe has a color tool called Kuler... It can be integrated into Photoshop CS5

here's a video from Adobe's web site


You can get Kuler for your desktop here...
http://www.adobe.com/products/kuler/

Week 3 Review -- History Panel

The History Panel is a list, a record, of the steps that you have applied to an image in Photoshop. You can use that list to return to a previous state to undo a "mistake" and, you can save the history information embedded in the meta data of the file or write it to a separate text file.

(I was thinking you could reload the history data and use it over, but, that is not the case, you can do that with Actions!) Every time you load an image into Photoshop, the history will be appended.

Here's a Quick way to use the history panel and the history brush to add a little color back to a black and white photo...

Started with this Photo taken from my Clark College Photowalk 2 Class


According to the history file this is what I did
2011-02-08 11:41:39    File Historybrush (1 of 1).jpg opened
        Open
            Macintosh HD:Users:gts:Desktop:Historybrush (1 of 1).jpg
        Select snapshot “Historybrush (1 of 1).jpg”
        Select last history state
        Select Current History State
        Select snapshot “Historybrush (1 of 1).jpg”
    Duplicate Layer
        Duplicate current layer
            2
    Black & White 1 Layer
        Make adjustment layer
            Using: adjustment layer
            Type: black and white
            Preset Kind: Custom
            red: 118
            yellow: 60
            green: -22
            cyan: 60
            blue: -79
            magenta: 123
            Without tinting
            tint color: RGB color
            Red: 225
            Green: 211
            Blue: 179
        Select layer “Black & White 1”
            Modification: Add Continuous
            Without Make Visible
        Select layer “Background copy”
            Modification: Add Continuous
            Without Make Visible
    Flatten Image
        Flatten Image
        Set History Brush Source
            To: history state -3
    History Brush
    History Brush
    History Brush
    History Brush
    History Brush
    History Brush
    History Brush
    History Brush
    History Brush
    History Brush
    History Brush
    History Brush
    Undo
    History Brush
        Select brush
        Select history brush
    History Brush
    History Brush
    Undo
        Select previous history state
        Select previous history state
    History Brush
    Undo
    History Brush
    Undo
    History Brush
    History Brush
    History Brush
    History Brush
    History Brush
    History Brush
    History Brush
    History Brush
    History Brush
    History Brush
    History Brush
    History Brush
    History Brush
    History Brush
    History Brush
    History Brush
        Select history state -18
        Select last history state
        Select history state -9
        Select previous history state
        Select previous history state
        Select previous history state
        Select previous history state
        Delete Current History State
        Select last history state
    History Brush
    History Brush
    History Brush
    History Brush
    History Brush
    History Brush
    History Brush
    History Brush
    History Brush
    History Brush
    History Brush
    History Brush
    History Brush
    History Brush
    History Brush
    History Brush
    History Brush
2011-02-08 11:50:55    File Historybrush (b-w).jpg saved
        Save
            As: JPEG
            Quality: 12
            Matte: none
            In: Macintosh HD:Users:gts:Desktop:Historybrush (b-w).jpg
            With Lower Case
Here's the results